Professional Staff For Safest Flood Damage Restoration Service In Maroubra, NSW
Flood damage creates a lot of chaos in the house. It stops the day-to-day work. Moreover, the germs and bacteria that flood water contain harm to humans. You can reach Good Job Carpet Cleaning to seek out all your flood damage-related issues. Our Flood Damage Restoration Maroubra staff helps to cure the damage caused by flood water. We know the importance of restoring the house after flood damage. Thus we are well equipped with all the modern tools and equipment to extract dirty water and clean your carpet. Our company never asks for a huge amount of fee to serve you. Since we want everyone to benefit from our services. Moreover, we even sanitize your entire place before leaving. To make sure that there are no harmful bacteria left behind. Thus call us at 0488 851 508 to book our services.
Checklist of Our Professional Flood Restoration Services
- Wet Carpet Drying Maroubra
- Wet Carpet Cleaning Maroubra
- 24-Hour Emergency Service
- Rapid Response and Mobilization
- Water Damage Restoration
- Drying and Dehumidification
- Daily Monitoring and Recording of Moisture Levels
- Carpet Sanitization Maroubra
- Carpet Deodorization Maroubra
- Carpet Damage Restoration Maroubra
- Carpet Water Extraction Maroubra
- Flood Damage Restoration
- Flooded Floor Clean-Up Maroubra
- Removal and Disposal of Wet Materials
Flood Damage Restoration Services We Provide In Maroubra
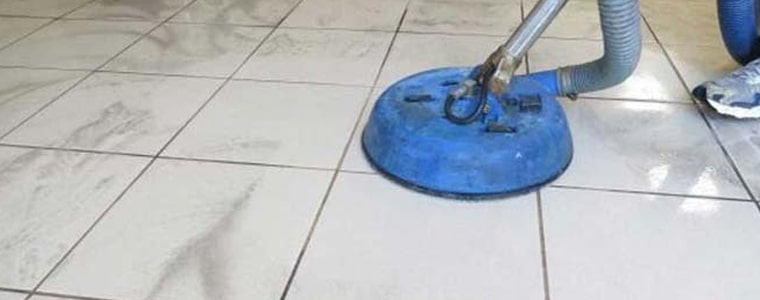
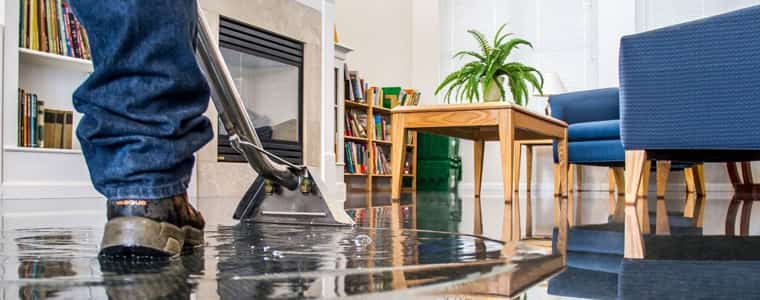
- Floor cleanup: Along with water extraction floor cleanup is also important. Since flood water flows everywhere. Thus our Flood Damage Restoration Maroubra team also provides floor clean-up service to make you stress-free. Also, we do not cost you much for our services.
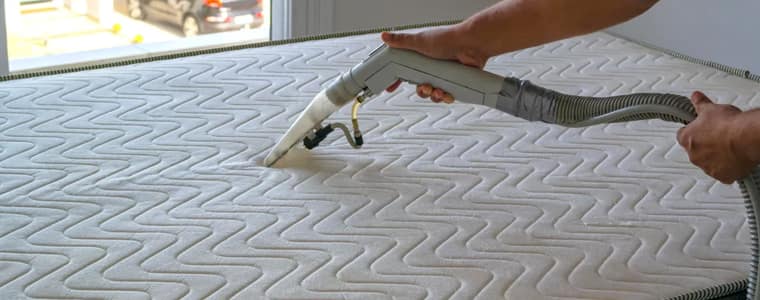
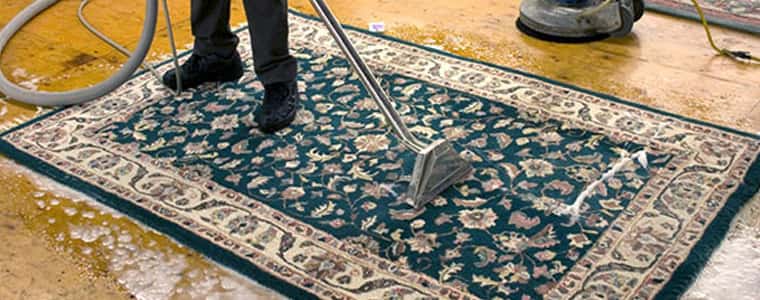
- Carpet cleaning: We use hot water extraction to clean the flooded carpet. Since it contains a lot of bacteria in it. Therefore during carpet steam cleaning all the contaminants, dust and dirt are removed. Thereby making it free from bacteria and also giving it a new look. So hire us if you want to make your place bacteria-free.
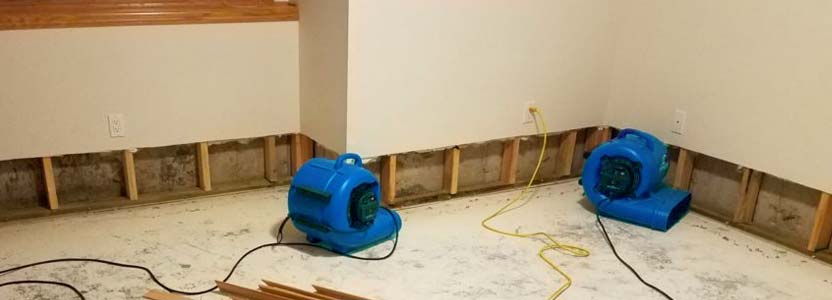
- Wet carpet drying: Drying is the most crucial step in flood damage restoration service. Moreover, wet carpets can smell. Thus get our assistance to dry your carpet after perfect cleaning.
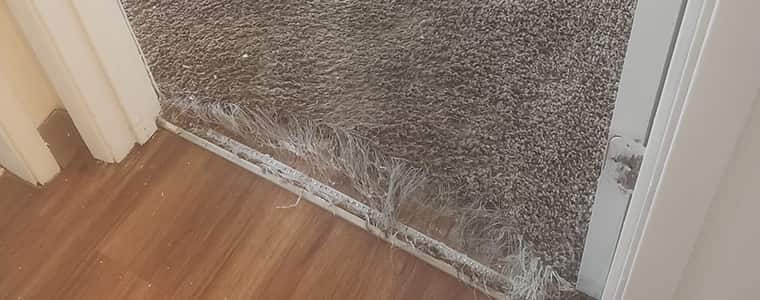
- Carpet damage repair. There is much damage caused to carpets by the flood. Thus we are here to provide you with all types of carpet repair services. Call us as soon as possible if you see any carpet damage. We can provide you with the best carpet repair service at affordable prices.
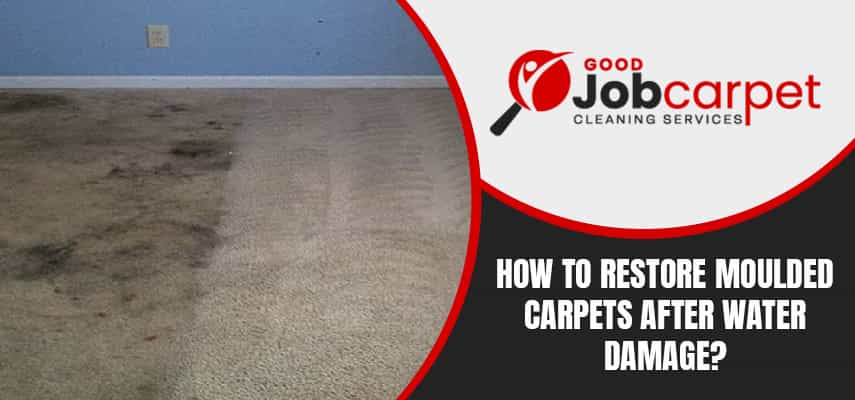
- Mould removal service: We eliminate the moulds from your carpet. We have many effective tactics to remove the moulds from your carpet. You can simply contact us for the service. We even remove the stains that are caused because of mould. So reach us as soon as possible.
- Sanitisation and deodorisation service: Sanitisation is a major step of our service as it helps to kill all the harmful bacteria from the place. Moreover, because of a lot of germs and bacteria, there is an unpleasant smell all over therefore we even deodorize the place to make it smell and look good.
Advantages of Hiring Our Flood Damage Restoration Maroubra Team
- Professionals: Our Flood Damage Restoration team can fix all the flood damage issues in your home. Moreover, we make your home as safe as before flood damage. Also, our experts know the right way to treat your carpet for flood damage restoration.
- High-quality work: To provide superior quality work, we use modern tools and equipment. Thus we give our work more efficiently.
- Safe methods: To clean your carpet we use natural carpet cleaning solutions. Furthermore, we sanitize the entire area after the service to ensure a bacteria-free environment.
- Quick service: We provide quick service to all our customers. Hence we are available round the clock for assistance. Moreover, we are locals, thus know all the possible ways to reach you on time.
- Same-day service: Just over a single phone call, we can provide you with a same-day flood damage repair service. As we know the emergency was caused by flood damage.
- Affordable: Lastly, our prices are affordable. We never ask even for a single penny extra. Thus you can avail us.
Reach Here
Flood Damage Restoration Maroubra
Location: New South Wales 2035, Australia
Call 0488 851 508 Today!